Project Restore/Import
There are two primary ways you can restore / import a project:
-
Gateway Webpage - imports the entire project.
-
In Designer using File > Import in the Menubar - lets you import an entire project or select only the resources you want to import into your project.
To restore a project backup file in the Gateway Webpage
-
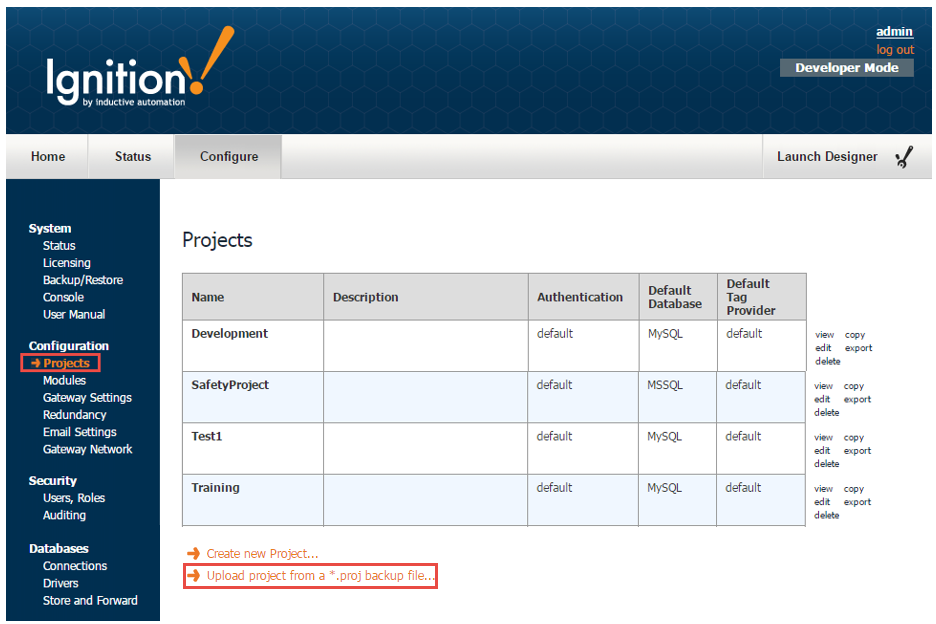
Go to the Configure section of the Gateway webpage.
-
Select Configuration > Projects.
The Projects page is displayed and you can see your existing projects.
-
Find the orange arrows at the bottom of the list of projects, and click on Upload project from a .proj backup file....
The Upload Project page is displayed.
-
Click on Choose File, select your .proj file from your browser, and click Open.
-
On Upload Project page, click on Upload.
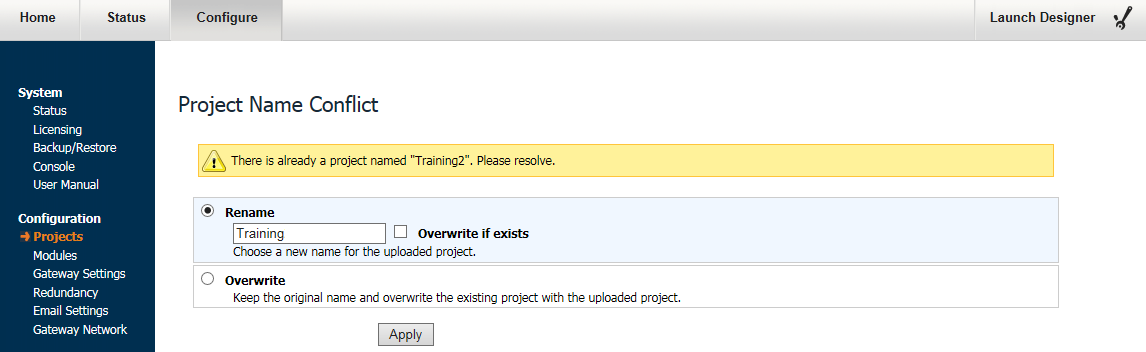
If there is already a project with the same name, the Project Name Conflict page is displayed giving you the option to Rename the project or Overwrite it.
-
Click Apply.
The Projects page is displayed again and you will see your new project is added to the list along with the other the projects.
To restore a project backup in the Designer
In the Designer, you can restore an entire project or selected resources from a project backup.
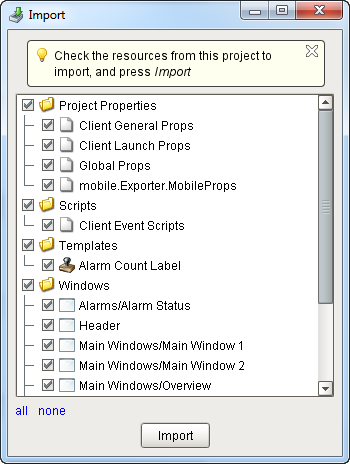
This example shows all the resources that were exported that you can restore from the project backup.
-
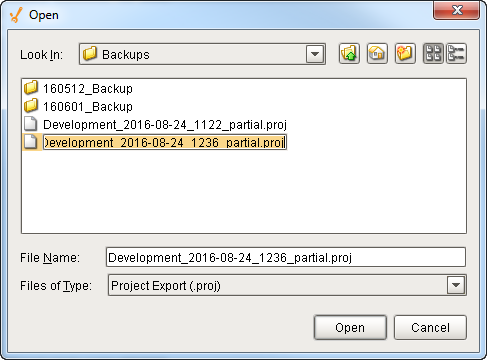
In Designer, select File > Import.

-
Select the project backup file (.proj) from the default folder, and click Open.
-
Select the resources from the project that you want to import. Press Import.
-
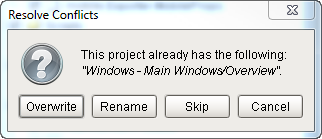
If there are any conflicts when importing your project resources, a dialogue box will appear and ask you to either Overwrite, Rename, or Skip the affected items.
-
Verify that all your project resources were restored.
Similar Topics ...